Start a new Project
From the Google Cloud Platform, create a New Project
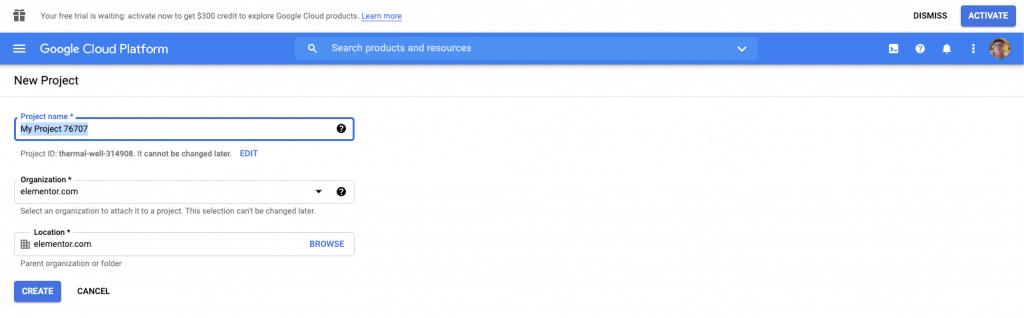
- Name your project using a unique name (note: this cannot be changed later)
- Fill out your Organization’s name
- Enter the location of your project
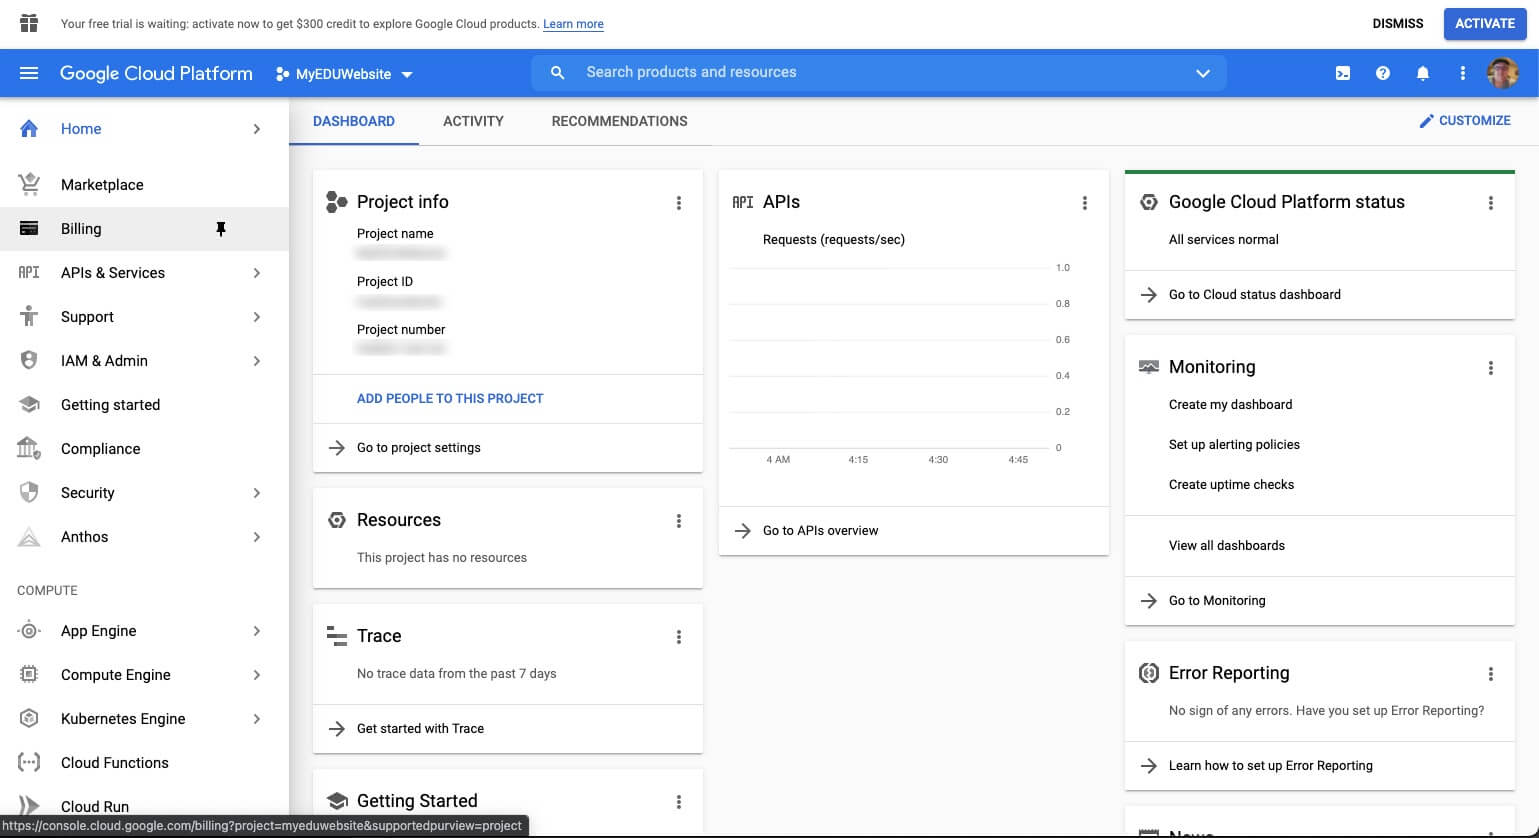
Billing Information
We will now need to set up billing information for your project. You may do this from the Left Panel > Billing
Billing Step One
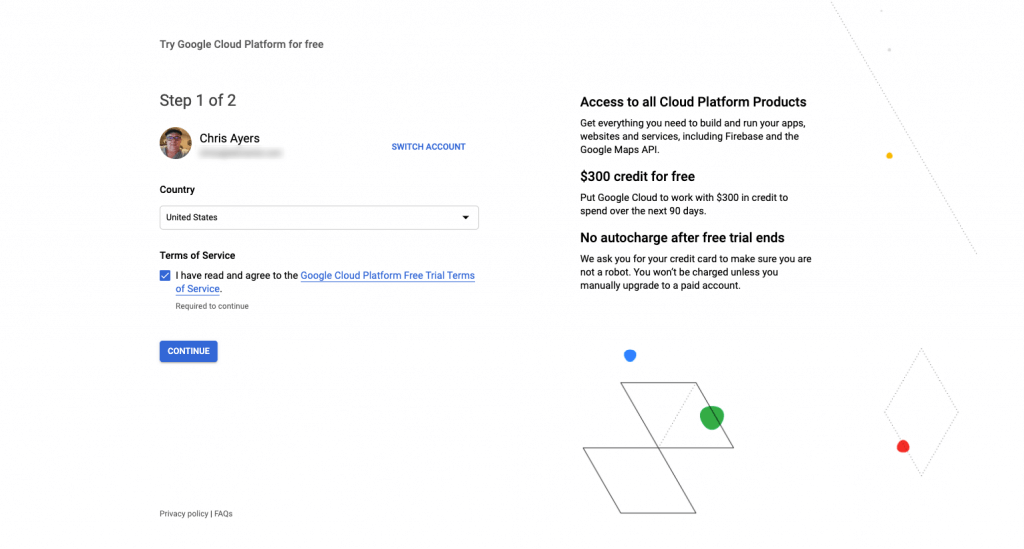
- Select a Country that applies to your project
- Agree to Terms of Service
- Click Continue
Billing Step Two
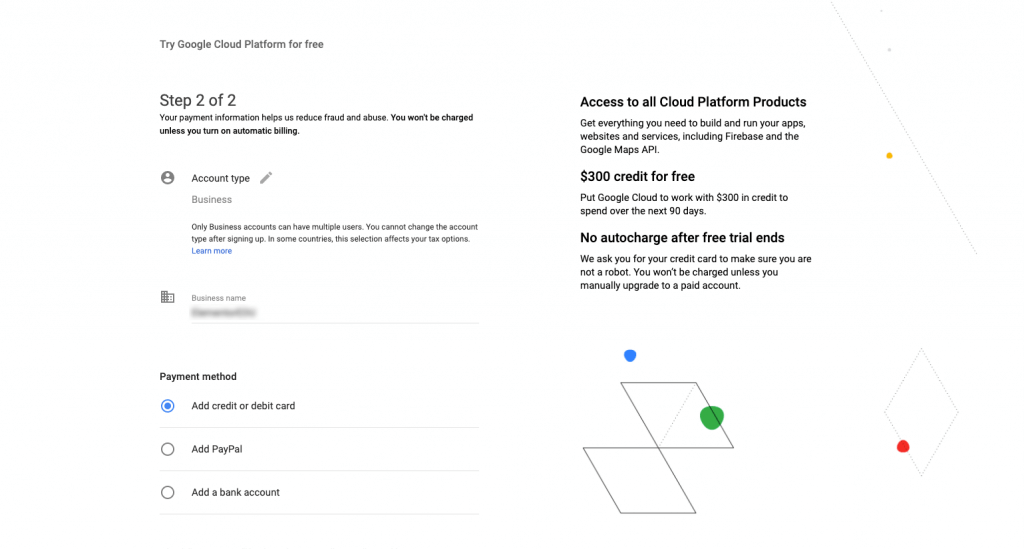
- Select an Account type
- Enter a Business Name
- Select a Payment method
- Enter your Payment information as chosen above (example: credit card)
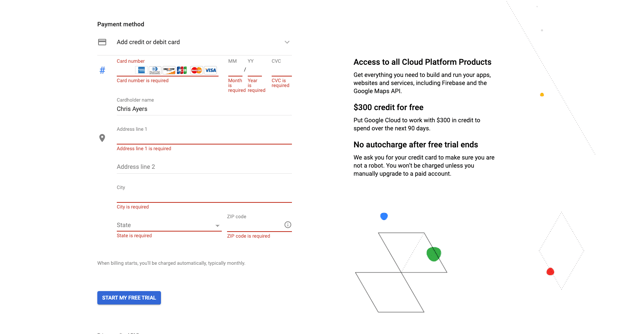
- Click the Start My Free Trial button
Return To Dashboard
Your billing information is now complete for this project.
Creating Credentials
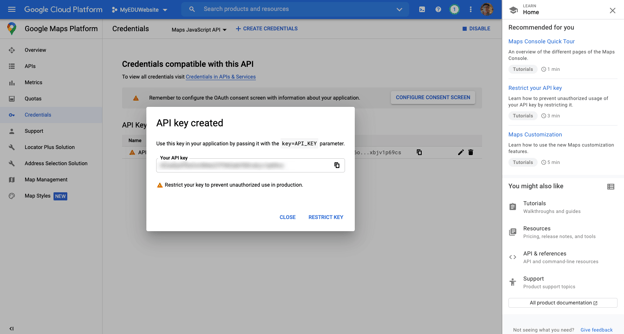
- From the APIs and Services > Credentials Tab, click the + Create Credentials link and select API key
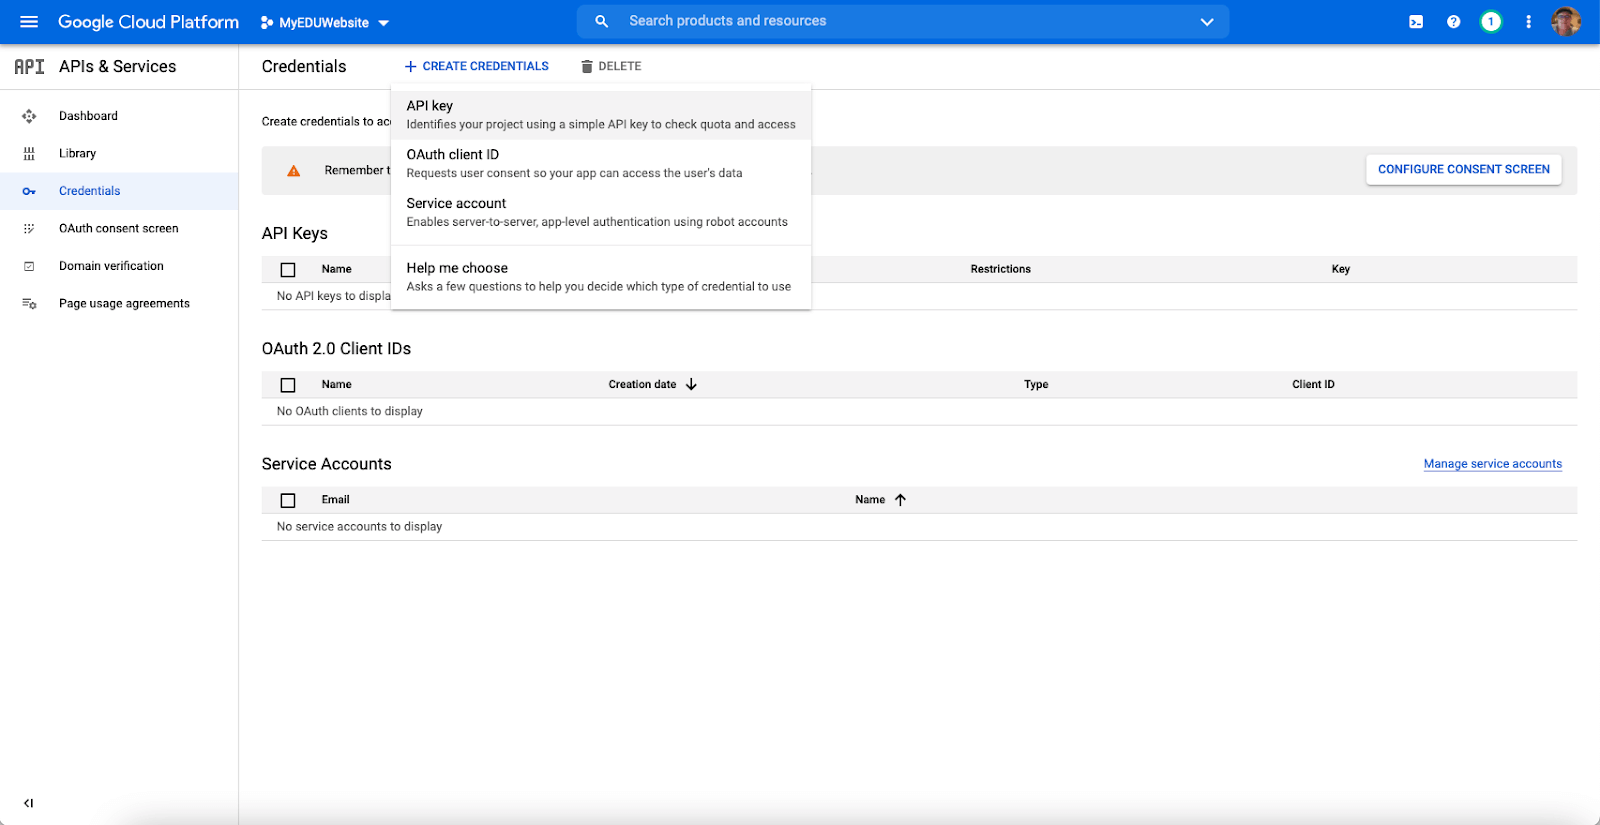
- You will now get an API key. For your protection, it is best to restrict this key from being used elsewhere
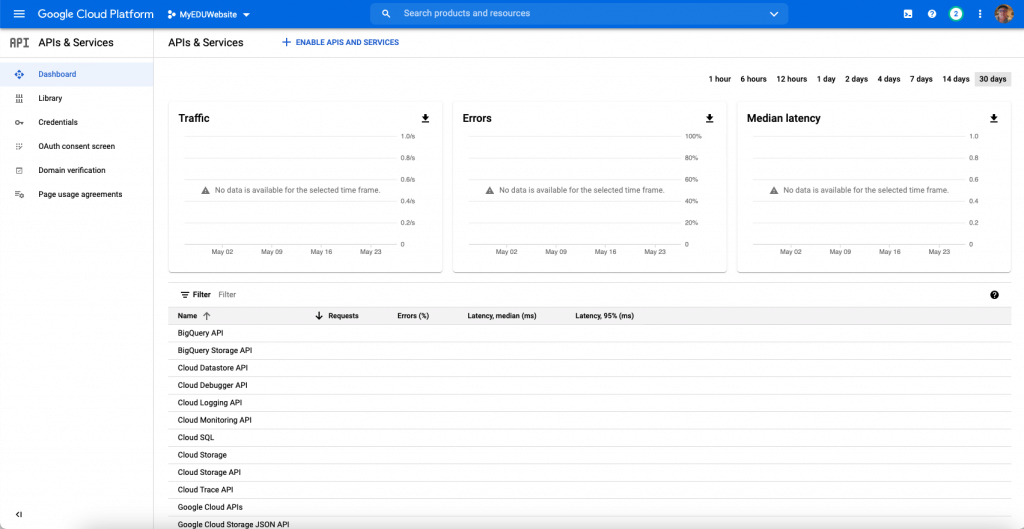
Adding Applications
We can now associate applications to be used with your key. From the APIs and Services dashboard click library
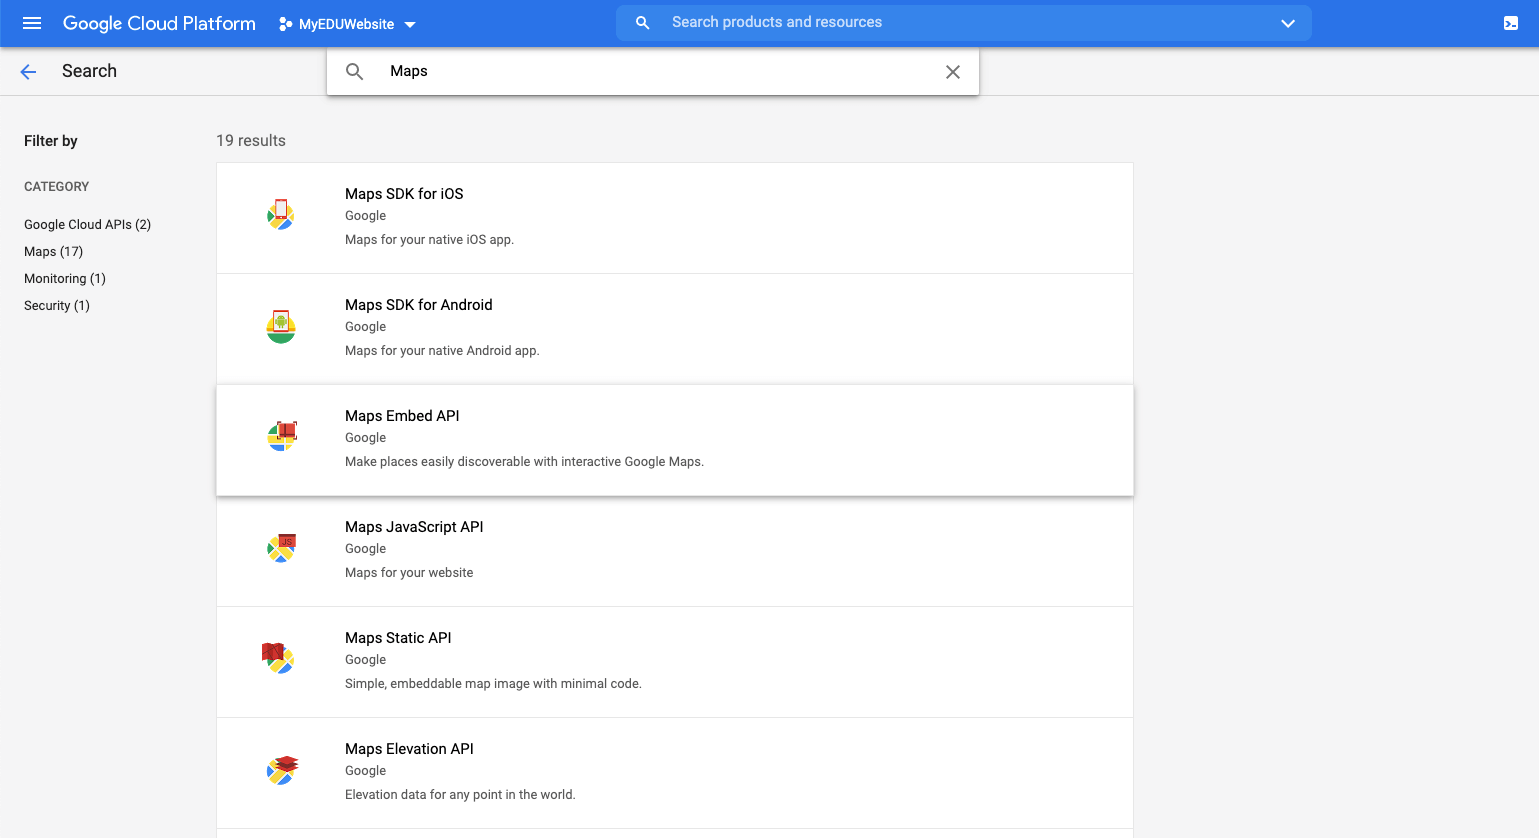
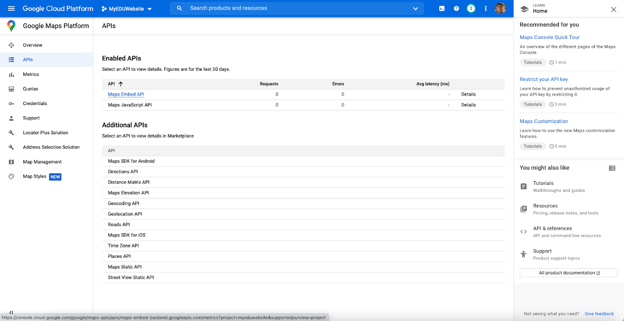
Adding Maps Embed API
- In the search box type in Maps. You will need the Maps Embed API for the Elementor Widget. Select this in the list below
- Click the Enable Maps JavaScript API Button
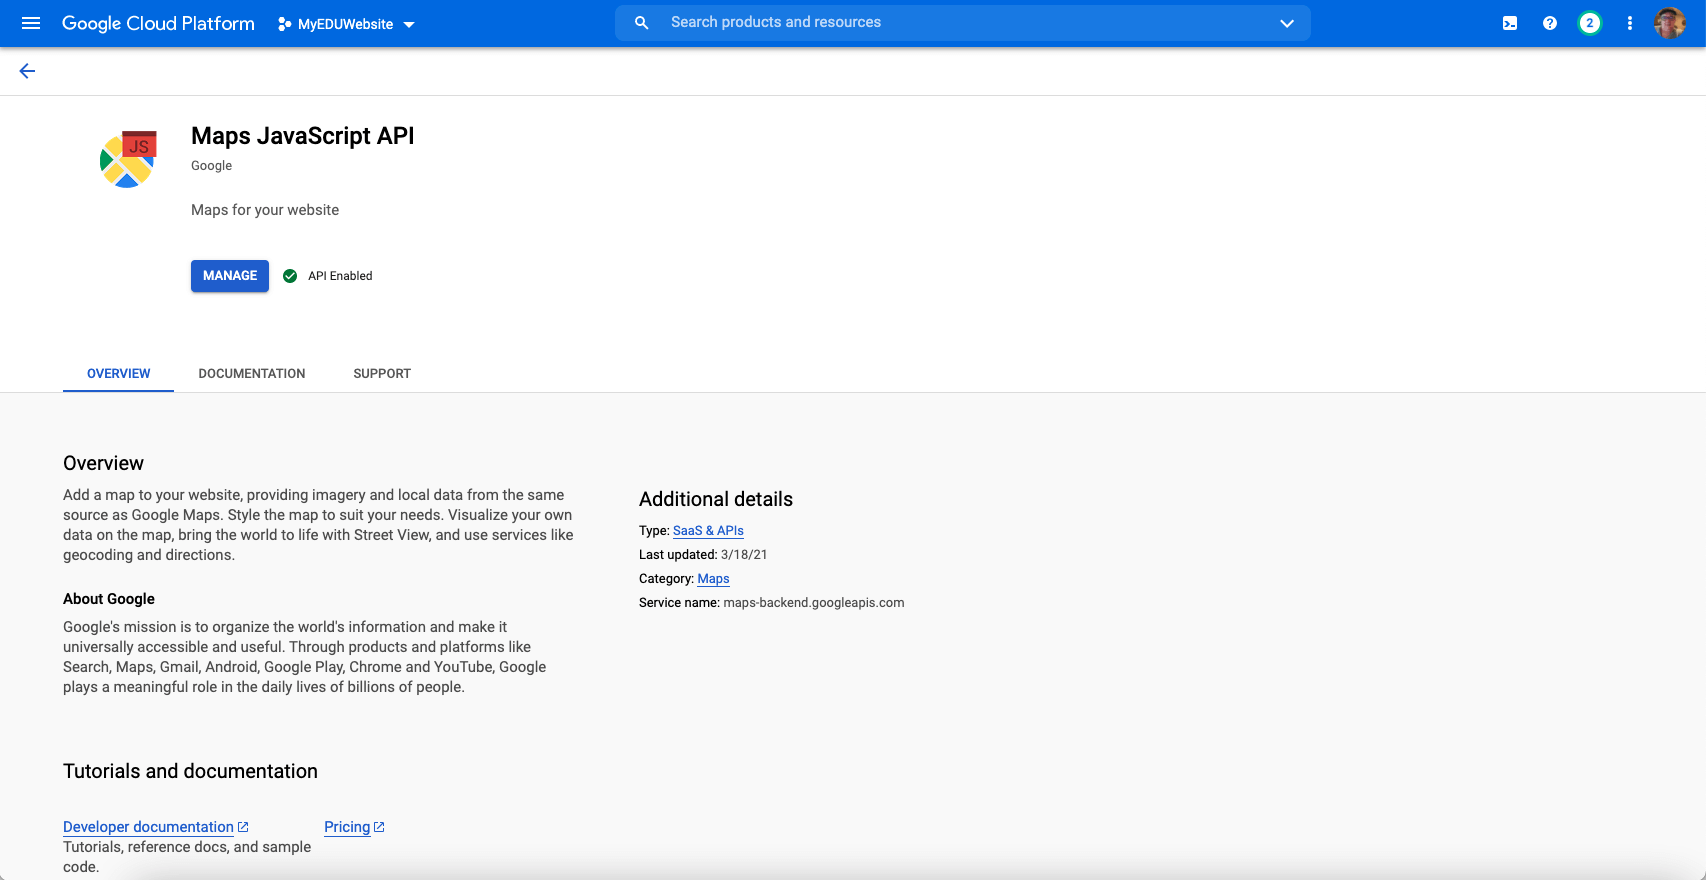
- This will now show in your list of available APIs and start collecting data
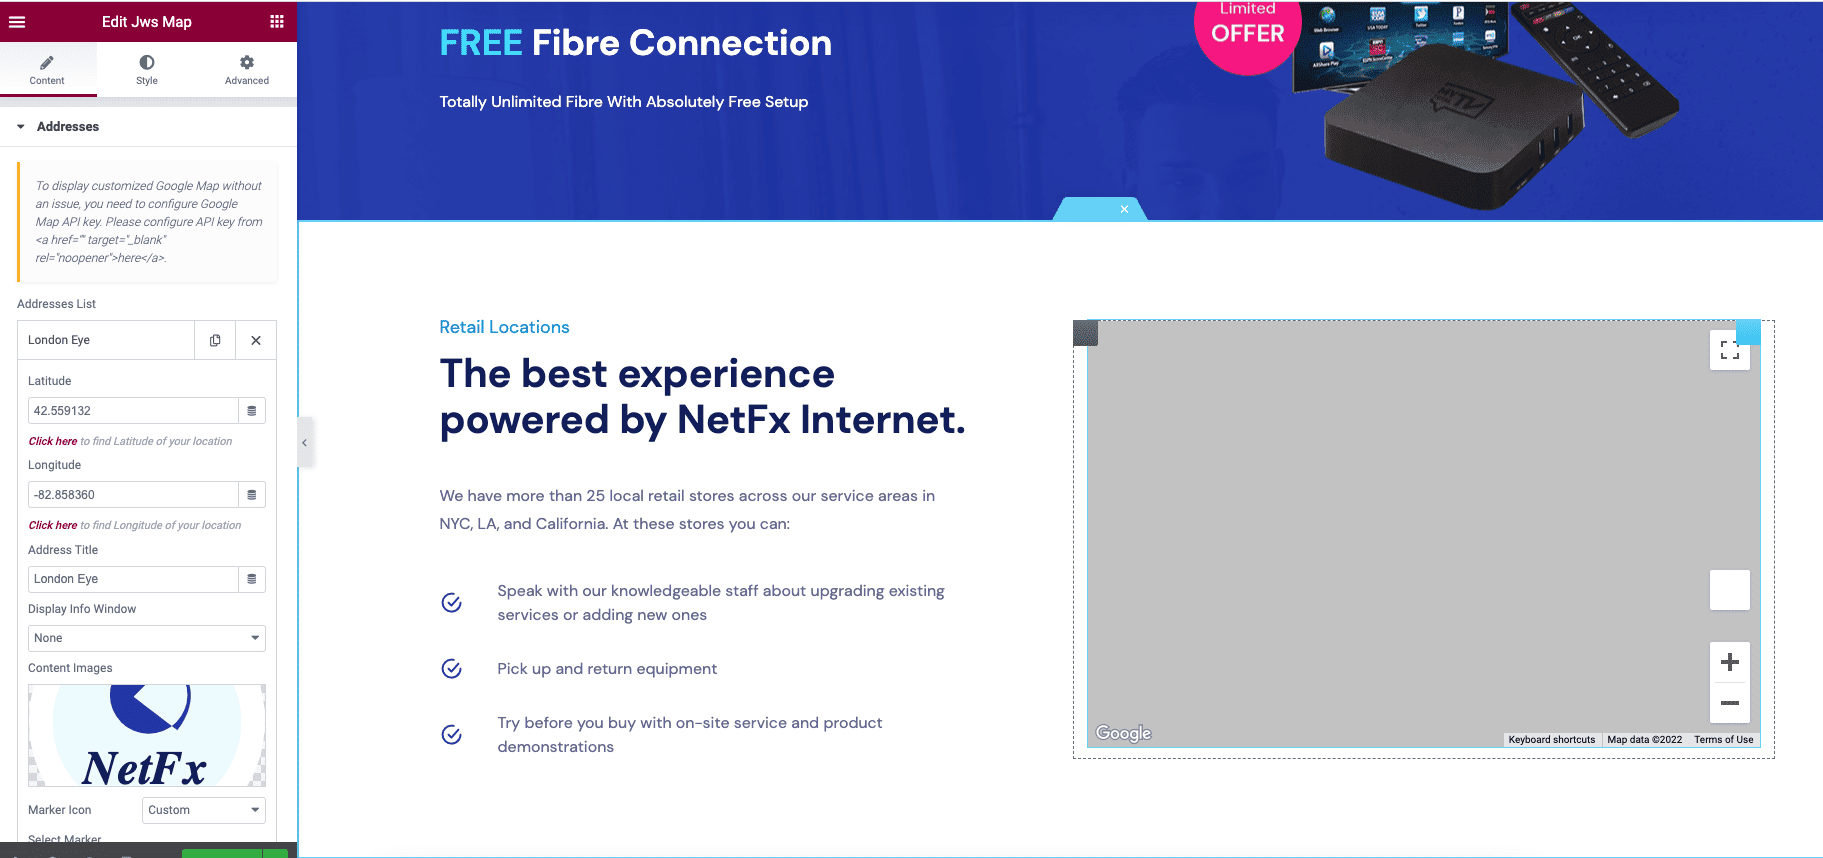
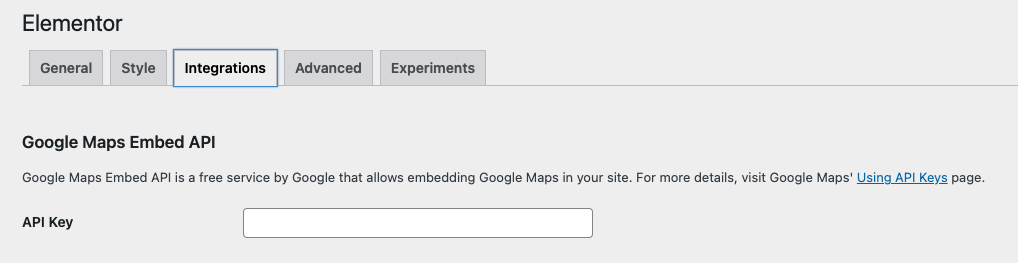
Add Your API Key to Elementor
You may now navigate to Elementor > Settings > Integrations and place the key in order to use the Maps Widget.
Edit with Elementor > add Latitude and Longitude (you can find here: https://www.latlong.net)